Creating an App with Android Studio: A Comprehensive Guide for Beginners

Are you eager to dive into the world of app development? Look no further! In this article, we will take you through a step-by-step journey of creating an app with Android Studio, the official integrated development environment (IDE) for Android. Whether you are a seasoned programmer or a complete novice, this guide will provide you with all the necessary information to kick-start your app development journey.
Before we dive into the nitty-gritty details, let's briefly explore what Android Studio is. Developed by Google, Android Studio provides developers with a powerful and user-friendly environment to build Android applications. It offers a comprehensive set of tools, such as code editors, debuggers, and emulators, to streamline the app development process.
Session 1: Setting Up Android Studio
Downloading and Installing Android Studio
To get started with Android app development, the first step is to download and install Android Studio on your computer. Visit the official Android Studio website and download the latest version compatible with your operating system. Once the download is complete, run the installation wizard and follow the on-screen instructions to install Android Studio.
Setting Up the Android Software Development Kit (SDK)
After successfully installing Android Studio, you need to set up the Android Software Development Kit (SDK). The SDK contains essential tools, libraries, and resources required for developing Android apps. Android Studio provides a built-in SDK Manager that allows you to download and manage different SDK versions.
Open Android Studio and navigate to the "SDK Manager" from the "Welcome to Android Studio" screen or the "File" menu. Here, you can select the desired SDK version and additional components to download. Once the download is complete, Android Studio will automatically set up the SDK for you.
Configuring Your Development Environment
Before you start coding, it's important to configure your development environment in Android Studio. Go to the "Preferences" or "Settings" menu, depending on your operating system, and explore the available options.
Here, you can customize various settings, such as appearance, keymaps, code style, and version control integration, according to your preferences. Take some time to familiarize yourself with the different configuration options and adjust them to suit your development needs.
Session 2: Understanding the Project Structure
Exploring the Project Files
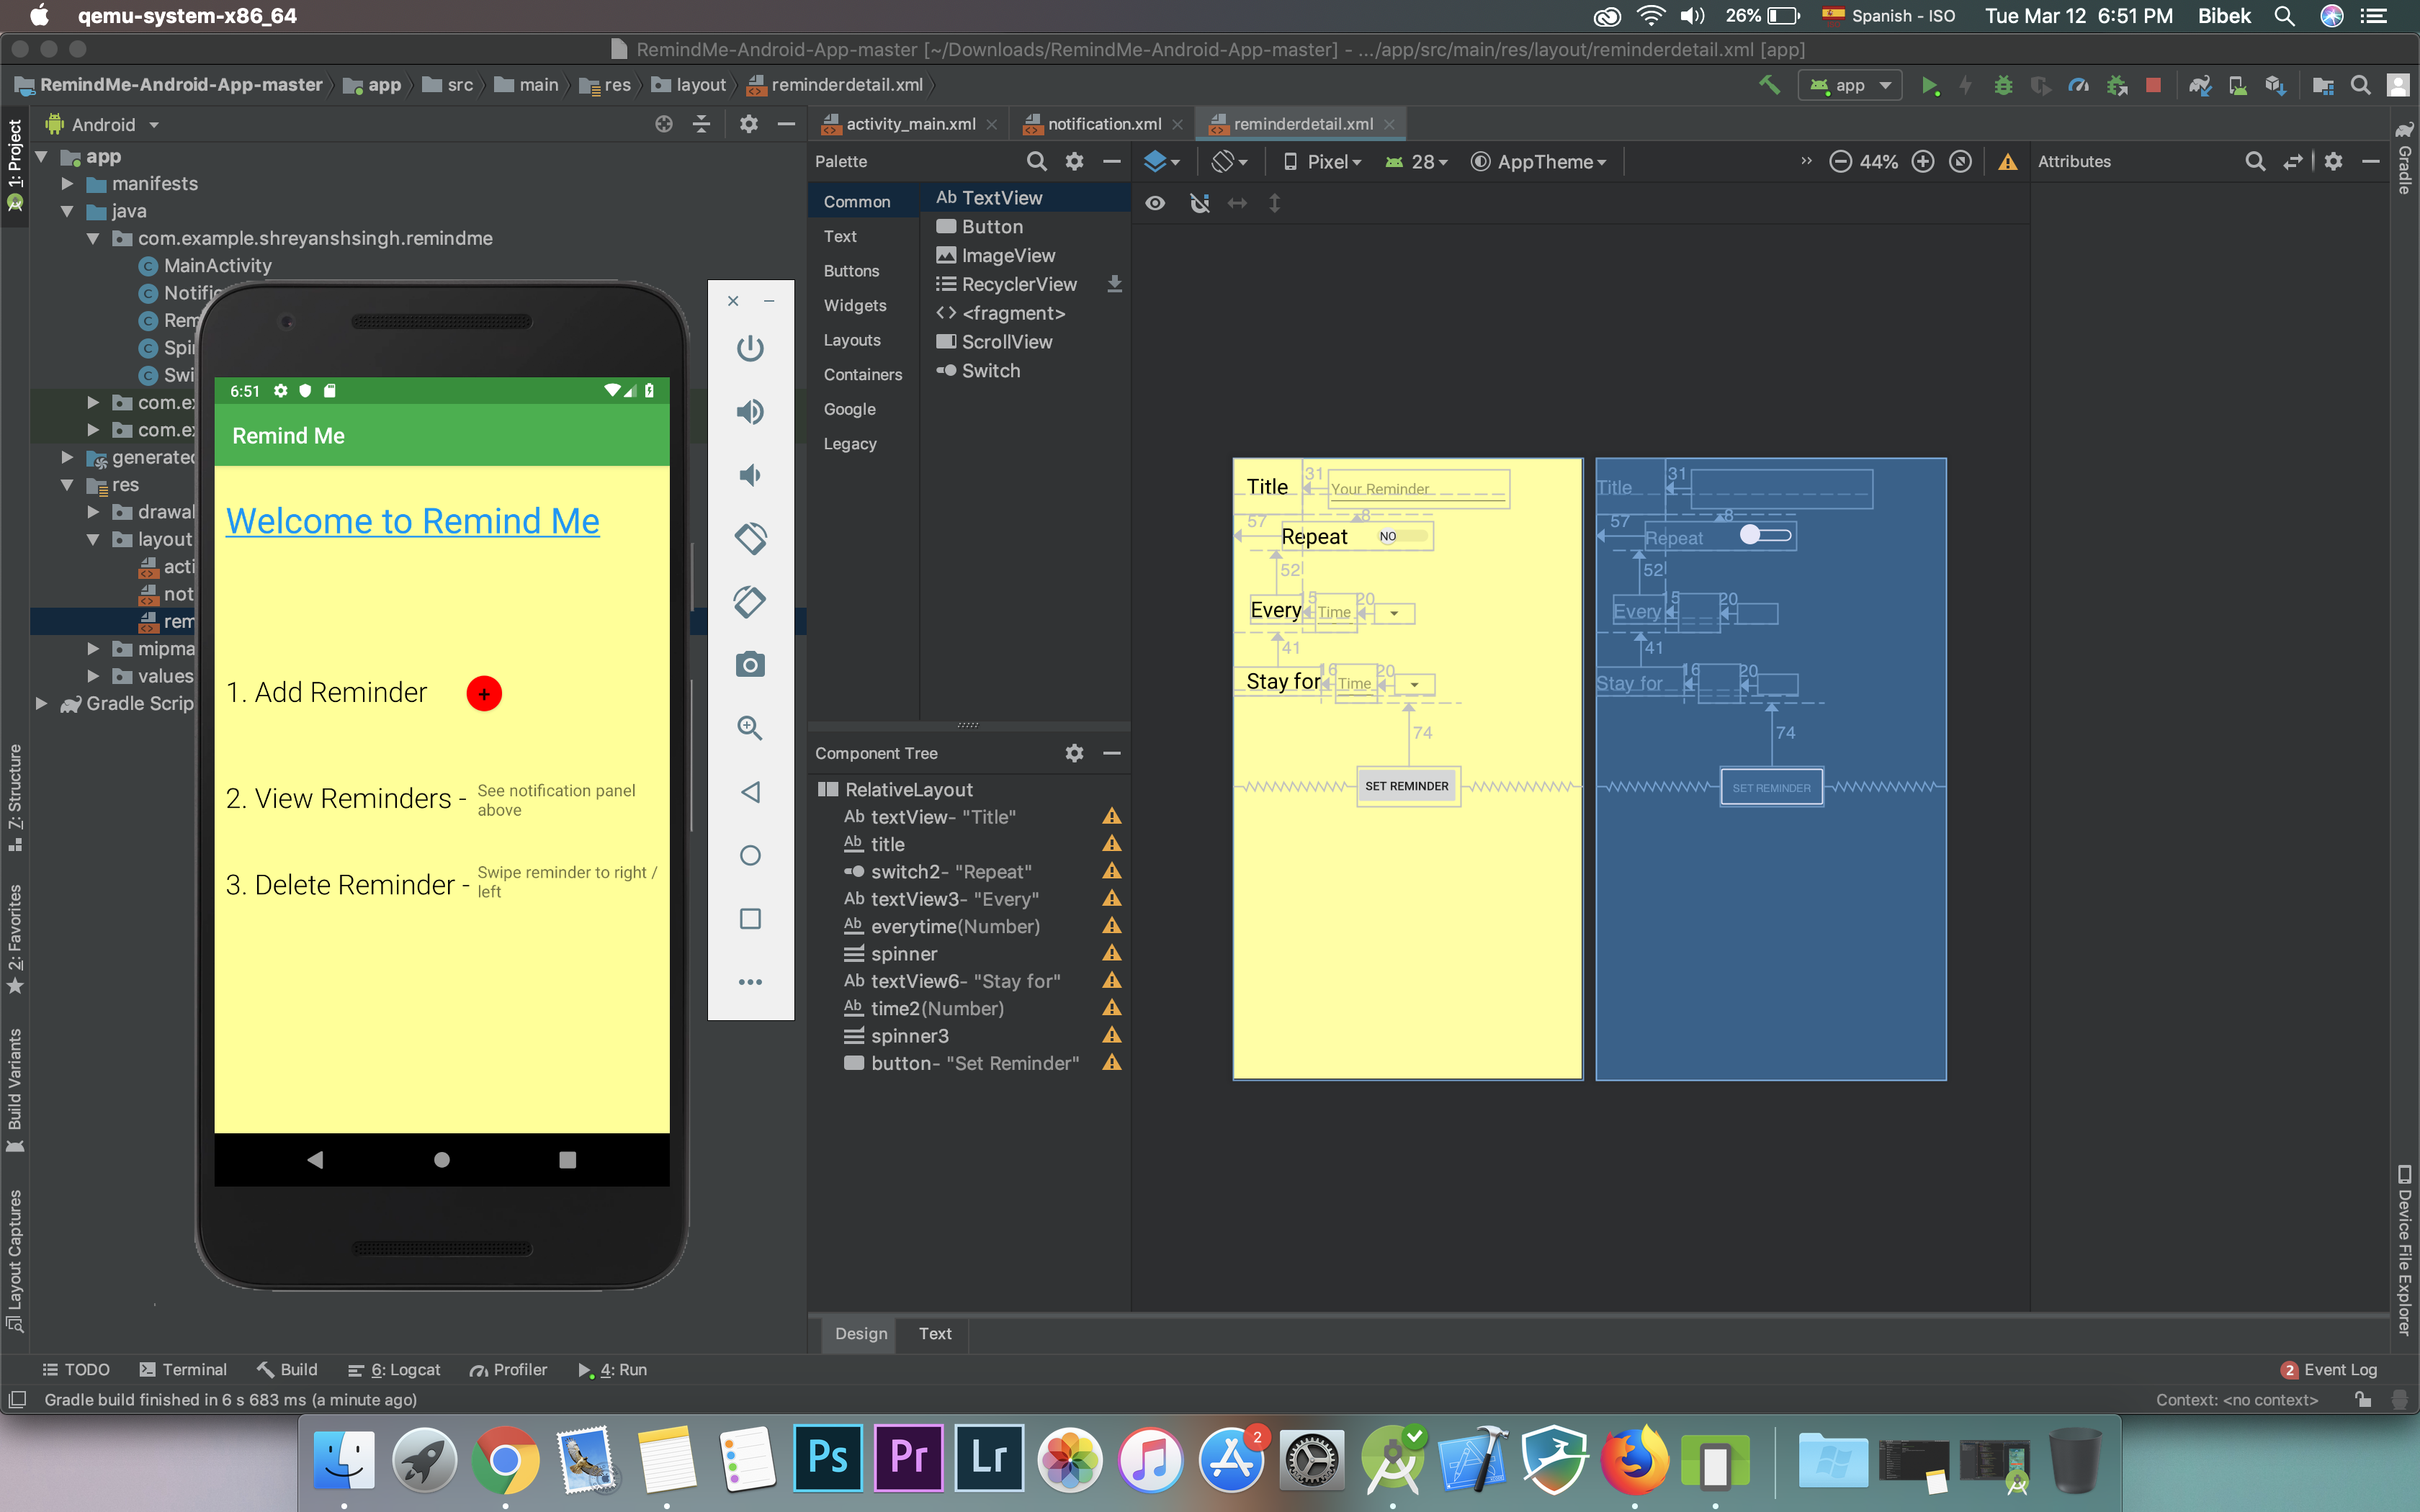
When you create a new project in Android Studio, it generates a set of files and folders that make up the project structure. Understanding the purpose of each file and folder is crucial for organizing your app's code and resources effectively.
The main components of an Android Studio project include:
- app: This folder contains the main code and resources for your app, including Java files, XML layout files, and drawable resources.
- manifests: The AndroidManifest.xml file in this folder provides essential information about your app, such as its package name, activities, permissions, and more.
- Gradle Scripts: These scripts, including build.gradle files, define the build configurations and dependencies for your app.
- External Libraries: This section lists the external libraries and dependencies used in your app.
- Gradle Scripts: These scripts, including build.gradle files, define the build configurations and dependencies for your app.
Post a Comment for "Creating an App with Android Studio: A Comprehensive Guide for Beginners"